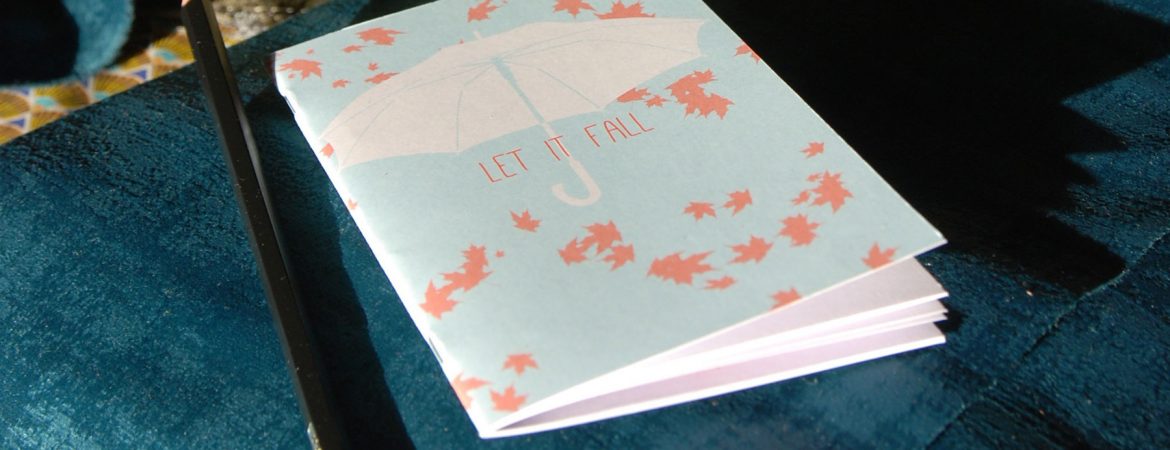
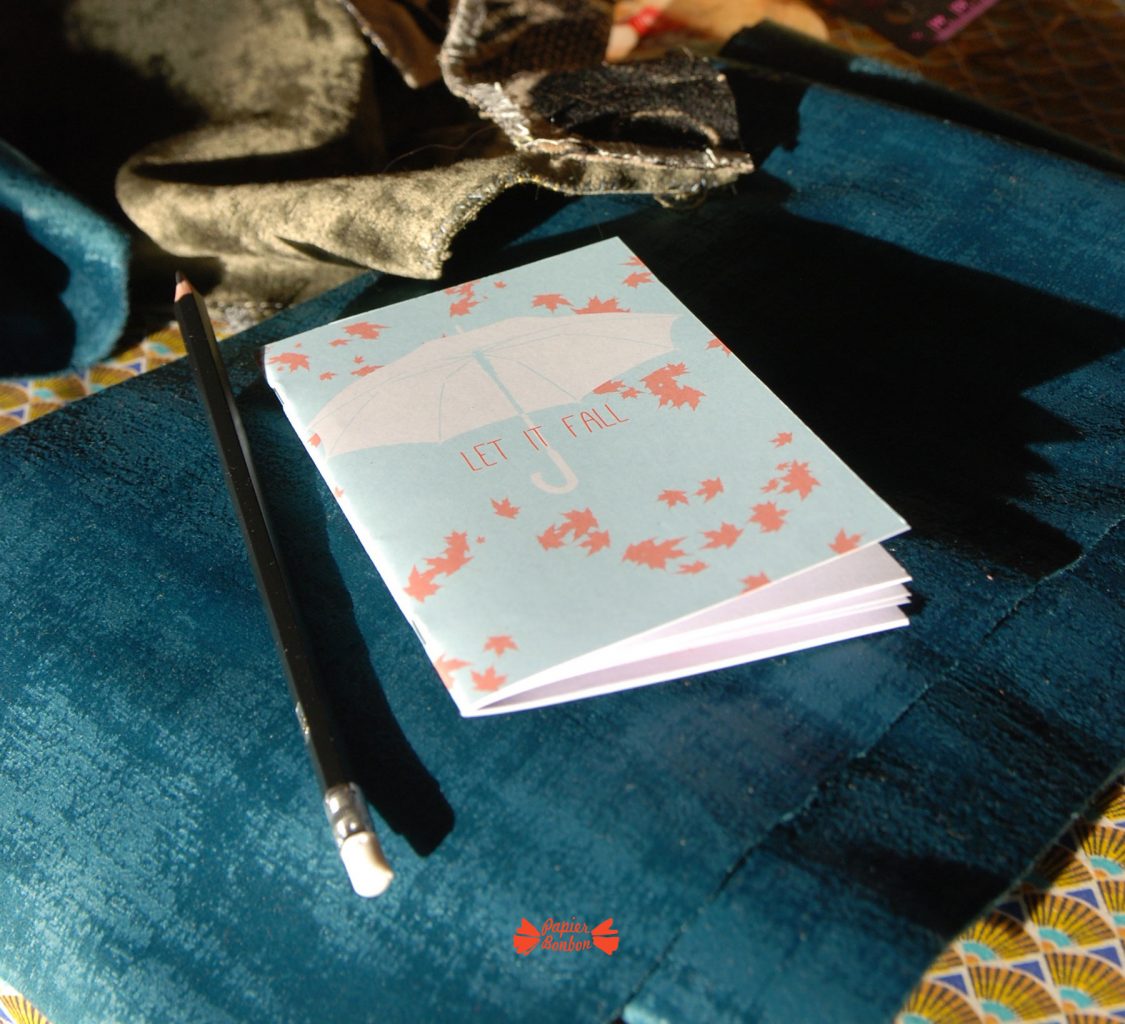
Here is the tutorial I promised to make a A5 notepad with the pattern created for October Printable calendar.
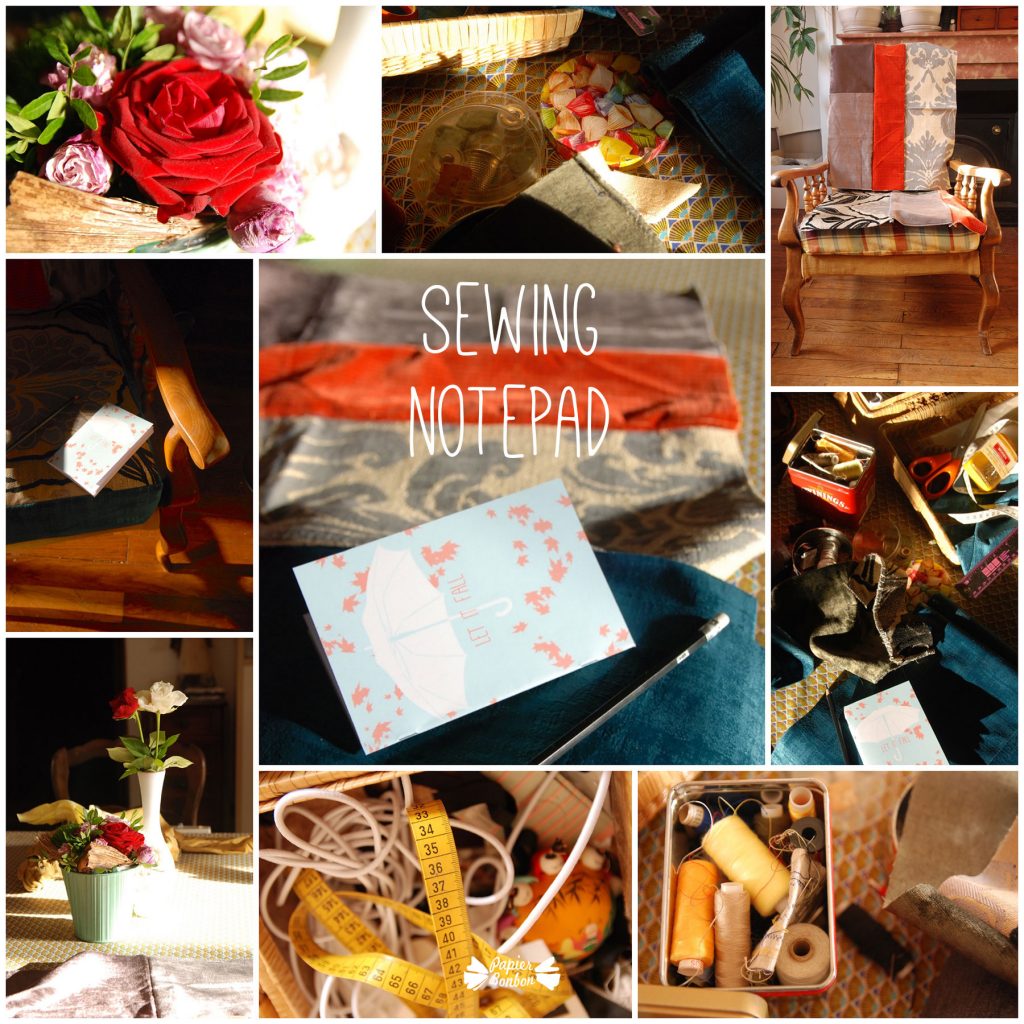
I am taking some time to restore two old armchairs. My mother (who is into patchwork) gave me furnitures fabrics some time ago. I am so glad to be using them and that my keeping everything “for it could be useful sometimes” is paying today. And they are quite beautiful too.
In order to organise my sewing and cutting, I needed a little notepad to draw and write all the measures down. So let’s start with this notepad tutorial that will enable you to assemble it with a common stapler. I love this tip !
Notepad tutorial :
What you will need
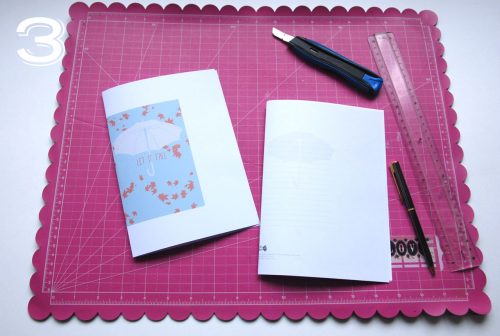
- Cardboard for the cover
- Regular printer paper for the pages
- a rubber
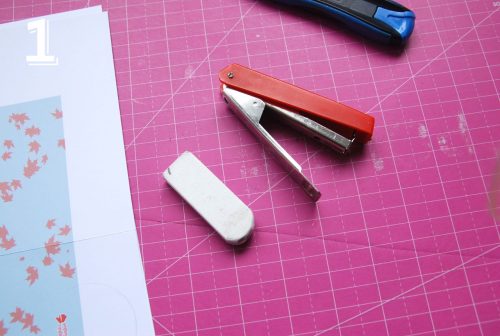
- A stapler that will open completely
- a ruler
- Something to score the folds (empty roller pen)
- a sharp cutter
- a cutting mat
- The printable template “Let it Fall”
Print the cover first alone at 100%. You may choose cardboard for the cover and ordinary paper for inside pages. Then print the inside pages on both sides as many time as you want. But 5 times should be enough for a small notepad.
Assemble
- Stapler and a rubber
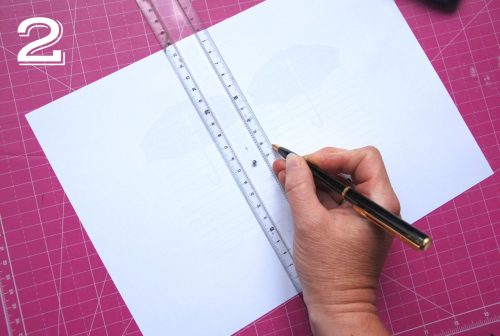
- Fold the pages by the center. You may want to score them for something really clean.
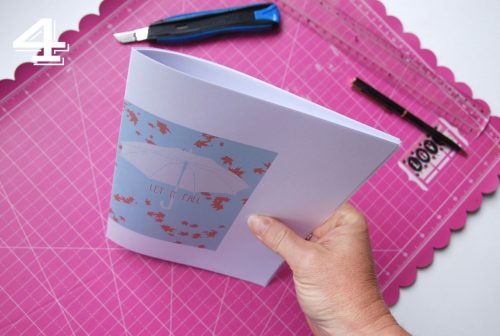
- Put the pages inside the folded cover.
- Align the sides
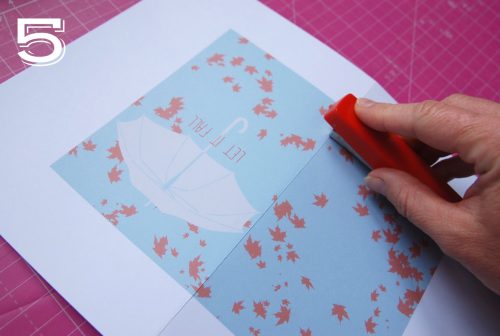
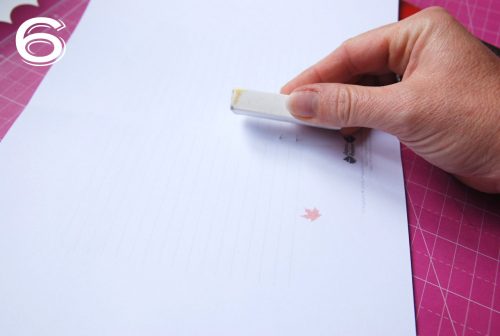
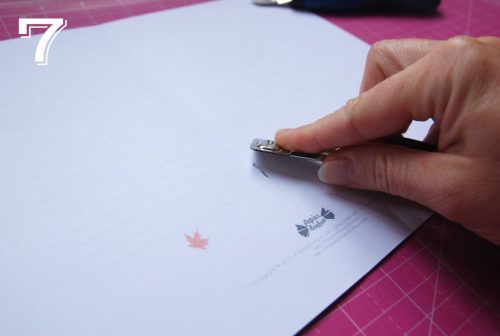
- Assemble with the stapler: Put the rubber underneath the whole notepad taking care not to move the pages. Open the stapler completely then use it normally dipping into the rubber on the other side.
- Flip the pages and take the rubber away the metallic pins
- Manually fold the pins. Repeat a second time step 5 to 7
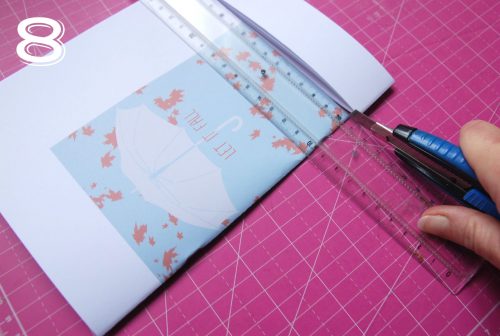
- Cut with a ruler. Don’t hesitate to repeat the operation if necessary.
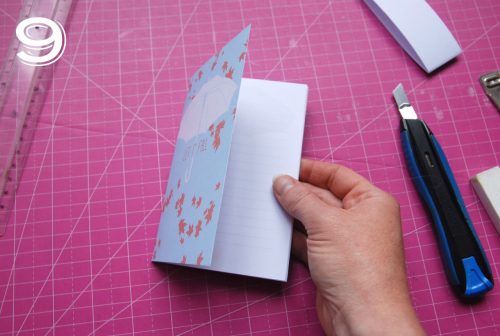
- Et voilà !
The Notepade template
Hoping you enjoyed this post and that it brought you a little ray of sunshine like here in my home, this morning.
